So, you have this idea “I’m going to start a blog” and you wonder, how hard can it really be to start a blog? You think to yourself – “millions of people have blogs, love (assumption!) updating their blog”, and fill it with content that want to share–how hard can it really be to get going?
Well, this is hard to answer is going to be completely subjective for everyone based on their knowledge and skills, but I can answer is how my experience was – From lessons learned to mistakes that were made, here is my journey to starting a blog.
My list of the minimum requirements/steps needed for creating a personal blog –
- Register a domain name (completely optional but nice to have)
- Choose provider and framework (WordPress, Astro, Hugo, etc.)
- Create Content
Step 1 – Registering a domain name
I have been using Cloudflare’s DNS resolver (1.1.1.1/1.0.0.1) personally since it was released back in 2018. Cloudflare also is a domain registrar.
I decided that I was going to use Cloudflare after reading some more marketing material and made my free account. There is also a ton of extra things that were 100% unnecessary to just needing a domain name.
I ended up searching for my perfect domain name that was available to register. I was so excited when I saw that mikeg.org was available to register! I decided to just follow the prompts and register the site..
I ended up spending 15 dollars for the domain, which I was super stoked to do! However, my excitement turned into something else when only a minute or two after registering the domain, I realized that mikeg.org was never available, and the registration system suggested mikeq.org… How embarrassing!
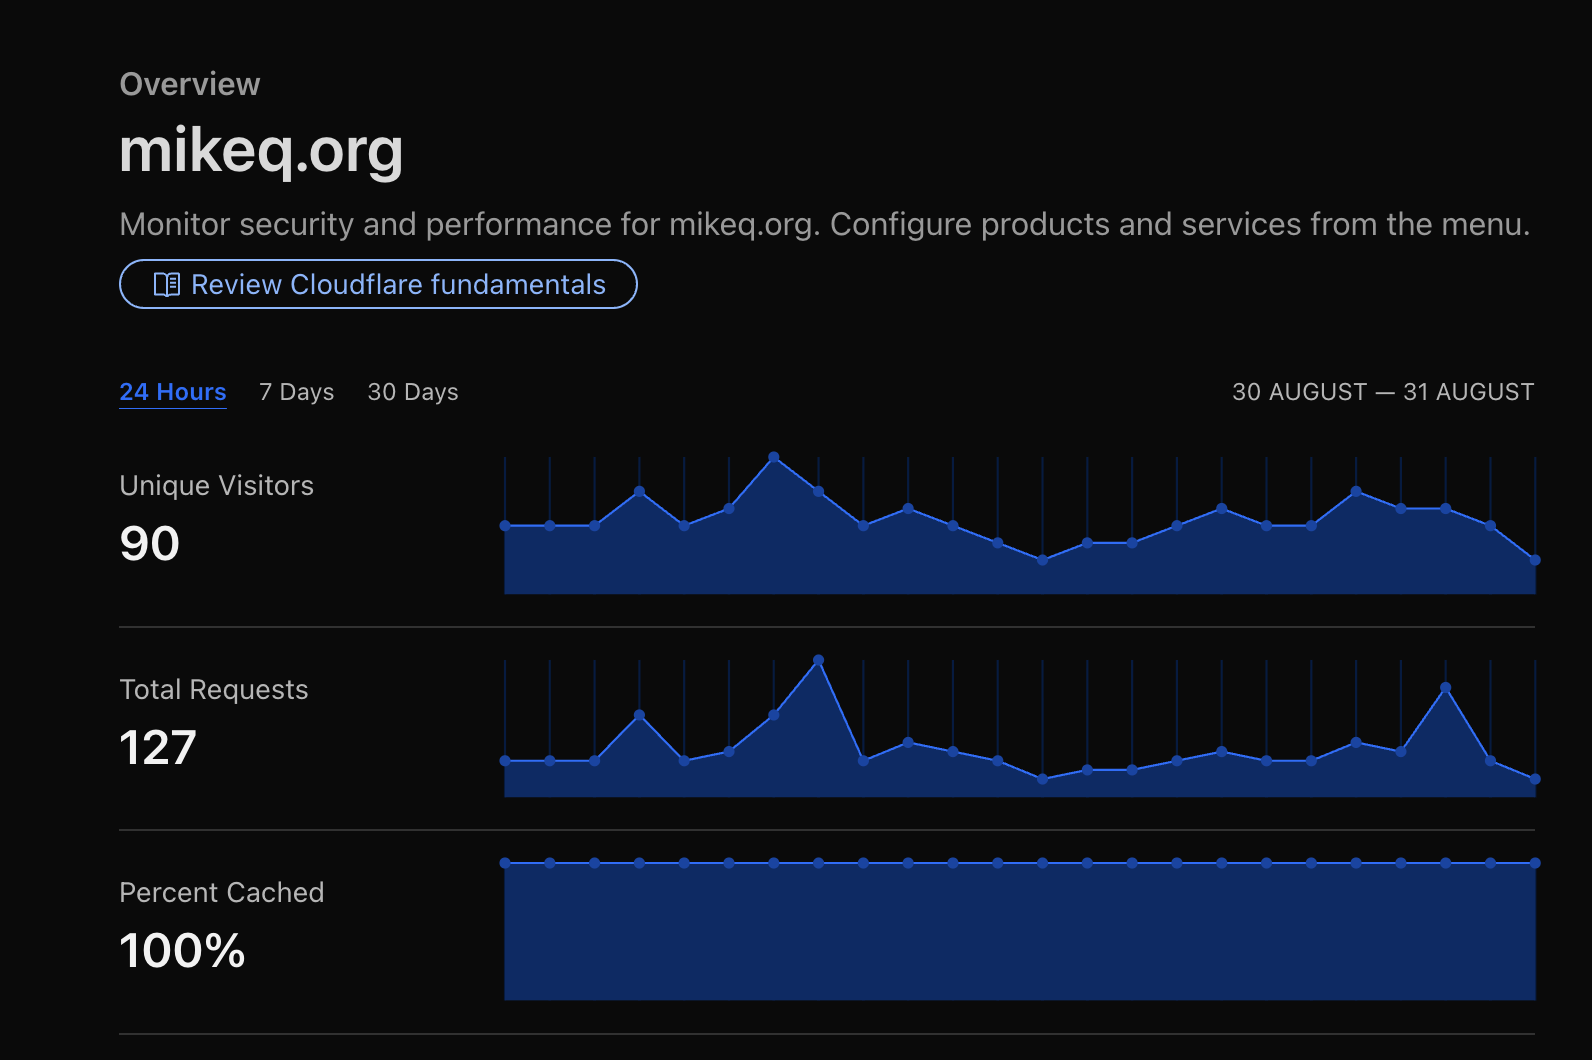
Domain name traffic for mikeq.org..
After realizing my costly mistake, I decided to quest to find the new perfect domain was never completed and I am now starting the search over. Long story short, I still haven’t found the perfect domain for my blog, but I found one that I think is better than mikeq.org, and that one is mikeinthecloud.net. Is it cheesy and unoriginal? Absolutely it is, but it works for now and it has since grown on me.
Step 1, check!
Step 2 – Research technology for Blog
The second-biggest decision that I needed to make for this blog, was decided on what time of blogging/website framework would I be using to create and display content.
This one I thought I had figured out fast. I say thought because after some research, I ended up deciding to go with a WordPress blog. The reason for choosing this initially is that my lovely wife has ran a WordPress site for years and years and I could easily bounce questions off her if I ran into any issues.
WordPress on Vultr
With WordPress decided, I decided to perform a google search on “best hosting provider 2025 reddit” and ended up with a few articles mentioning how great vultr.com is if you don’t mind managing the instance yourself.
I ended up loading $20 dollars into my account and spun up a VPS with their WordPress one click install. 1
Once I had the server running, it looked like I wanted to lock down SSH traffic to only my IP address. I went and played with the firewall configurations and noticed that there was some options for Cloudflare to allowlist, so I read up on that.
For this Cloudflare configuration to work, I needed to point my mikeinthecloud.net A Record to my newly created VPS server IP in Cloudflare, and make sure that the proxy toggle is enabled. This ensures that all requests are proxied through Cloudflare’s networks and you get a lot of the benefits of analytics, caching, security, etc.
For SSL to work on the free plan, you need to change the SSL type to Flexible under the SSL/TLS settings and install a WordPress plugin for Cloudflare to serve http traffic, so traffic from the visitor to Cloudflare is TLS encrypted, but traffic from Cloudflare’s proxy to your WordPress installation is served over port 80. Cloudflare TLS options (Flexible)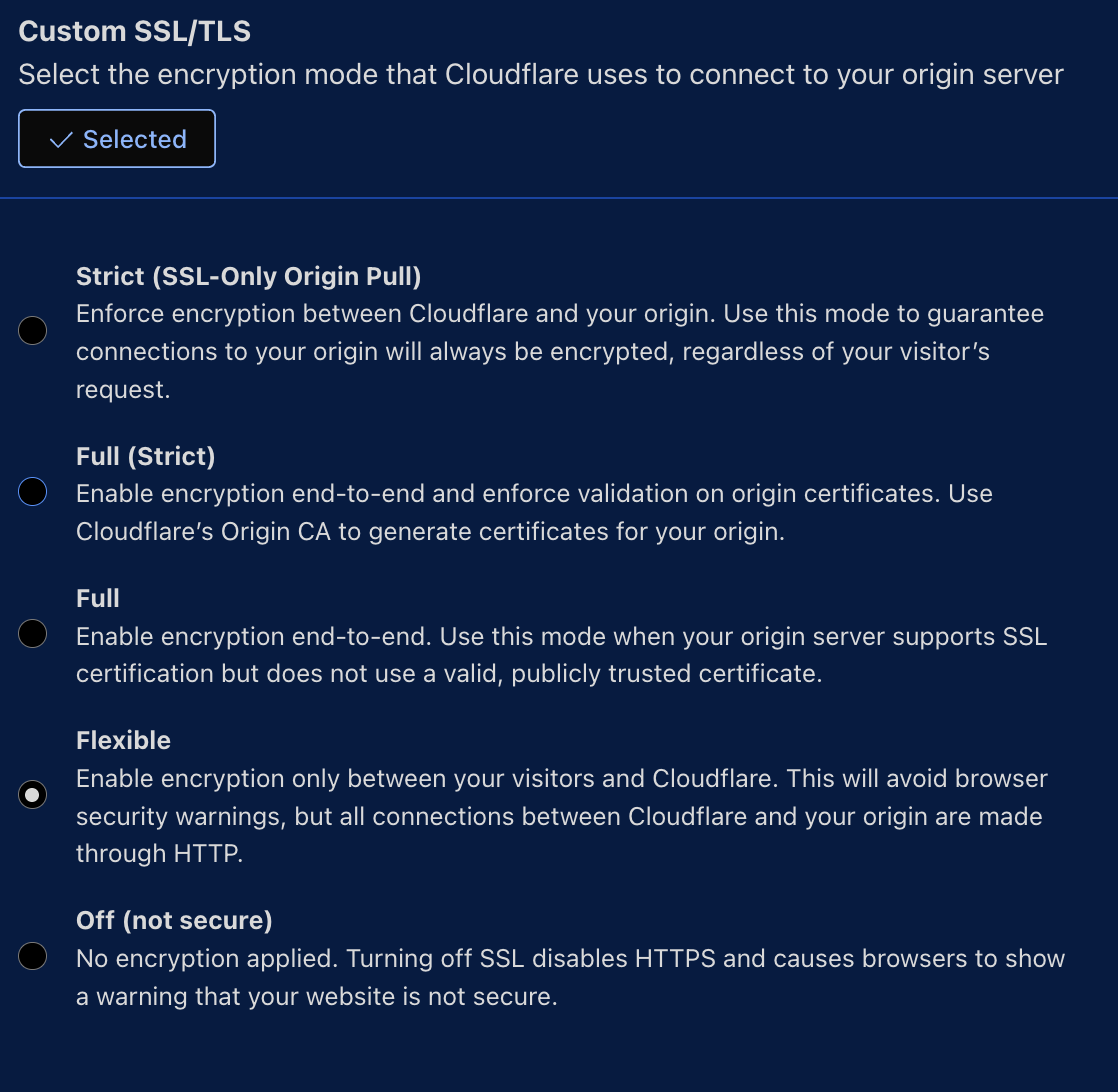
I had my WordPress site running for a few days. During the entire time of this blog site’s WordPress era, I was playing around with themes and trying to use their WYSIWYG layout editor. I felt like I was making no progress on designing my theme from a 2025 layout example.
At this point, I got tired of trying to design/configure a theme and tried some prebuilt themes. I saw one that looked great, but it had a lot of customizations locked out behind a paywall. This was a bummer. I wasn’t looking to spend money on a theme.
Feeling somewhat defeated with making the WordPress instance look nice, I decided to go look at all the additional stuff Cloudflare had to offer in my account. This is when I stumbled upon Workers.
Workers on Cloudflare
With Workers, I saw that you can deploy a static content page to Cloudflare CDN for free from a template. This one-button deployment was deploying a template to GitHub using Astro framework, which I was unfamiliar with.
I deployed the template and I played around with editing the sample content. Astro blog template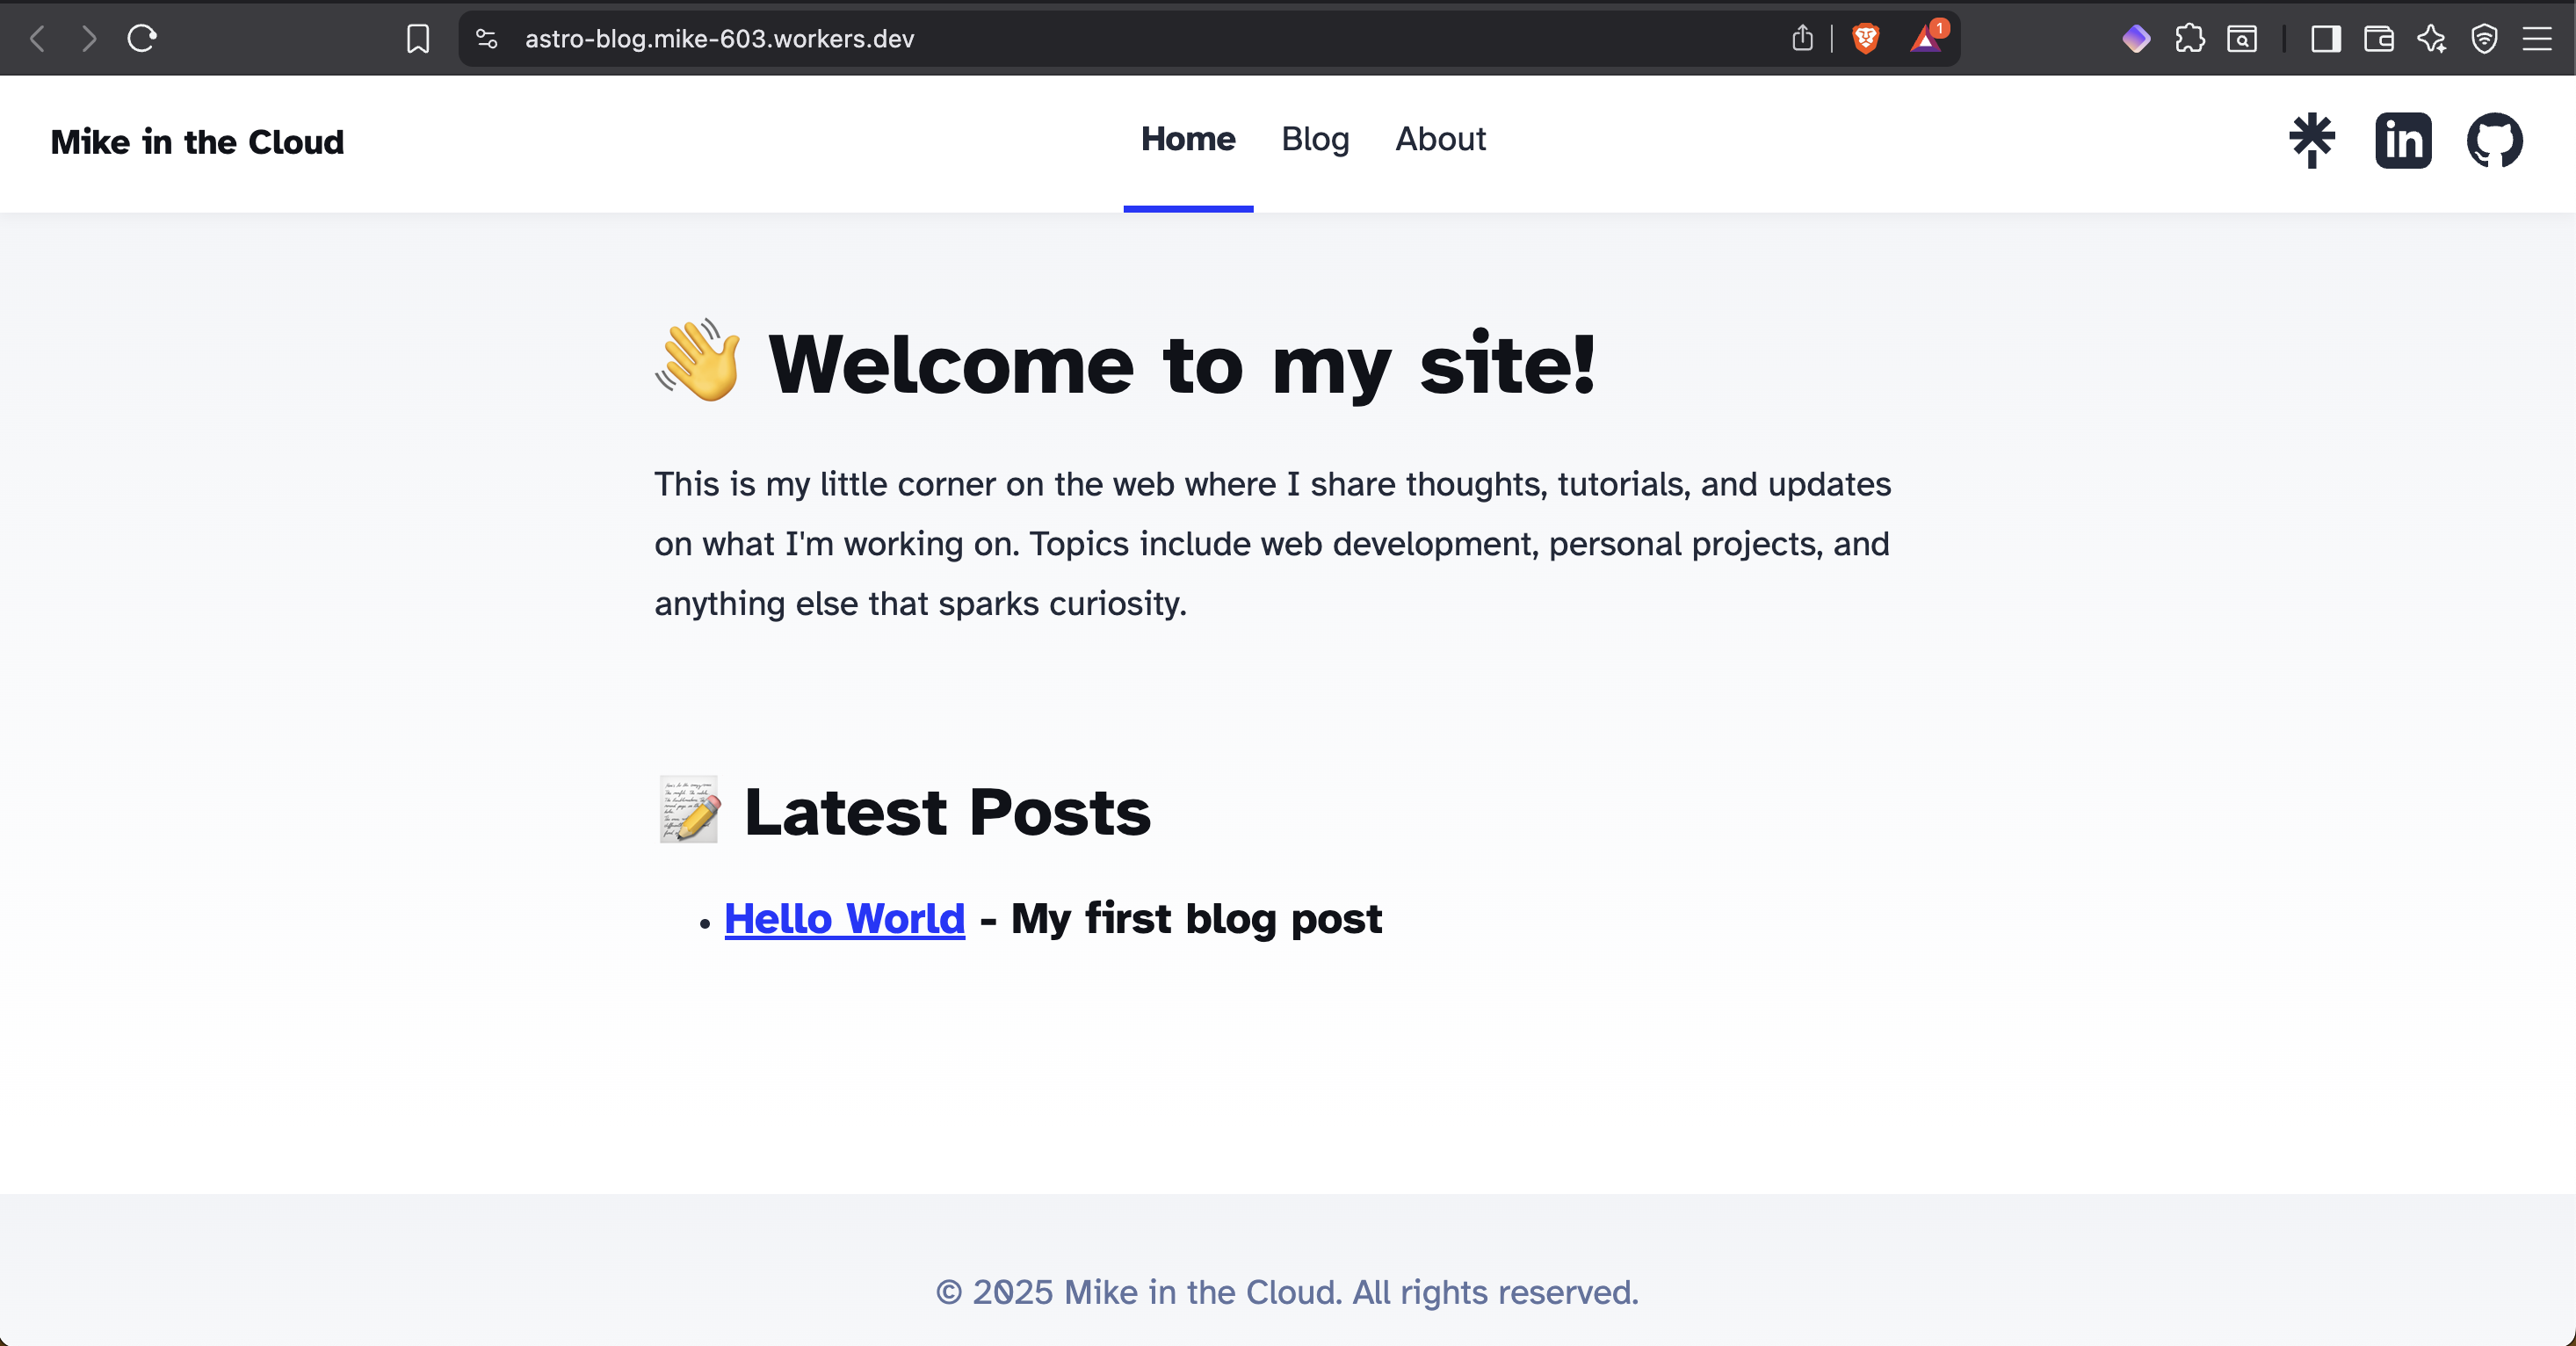
I was happy enough with this, so I ended up terminating the WordPress Vultr instance and pointed the DNS A record to the deployed Cloudflare page.
After playing with the sample content some more, I decided to go read more about Astro and working through Astro’s docs (Astro Docs Link) for building a blog from scratch.
Once I finished the tutorial, I ended up installing Tailwind CSS 4 to Astro. I watched a few how to videos on YouTube and went through the docs on Tailwind’s website. I ended up playing around with Tailwind to make a flexible header for my own Astro blog from scratch in the playground utility.
I was set, the only thing left to do was style the rest of the website, add a missing feature of pagination for posts, and get to adding content.
I started googling on how to add an pagination feature on Astro framework and stumbled upon a blog by Chen Hui Jing about this specific topic. I ended up reading the article, which I enjoyed reading and the site looks phenomenal, so I went to the about section. That is where I learned about Hugo.
This framework seemed like a perfect fit with templating, all the features I wanted for a blog, and some great looking themes. There is even a section on deploying to Cloudflare with a custom build script in their official docs for Workers that made this task super easy. Well, here we are, and the blog is now live (again!)
Step 2, check!
Step 3 – Create Content
Determining what exactly to write about, this is probably the most challenging part of starting a blog.
Anyway, you have read this article on Creating a Blog so the content peice is completed.
Step 3, check!
Conclusion:
I have a blog! The journey up to this point was very enjoyable and a lot of fun. Did I spend $35 USD on compute and a domain name I do not want? Yes.. yes I did.
I am done setting up this blog for now and will be focusing on writing about content that I am interested in.
If you made it this far, thanks for letting me share my experience setting up this blog with you.
Until next time.
-Mike
The estimated expense for this server to run monthly was right around $10 USD. ↩︎